Wednesday 23 October 2013

Photo Transfer onto Canvas

I love when i see potraits on canvases. But little did i know that you can make them right out of your home! This DIY is actually quite simple but so fun and so worth it. I have to say there were some challenging parts in the process of doing so, but you can get through it.

So first i made my own Mod Podge because you will need it for your finishing product on the canvas to make it shine. To make Mod Podge all you need is an old jar you dont use anymore, Elmers glue, and water. Very easy. I also added a lable on my jar saying "Rachel's Mod Podge." 

To make a canvas potrait you will need the following:
-Mod podge
-Tape + Scissors
-Foam brush
-Stretched out canvas
-Printed photo (I took one of my family photos)
-Black Acrylic Paint

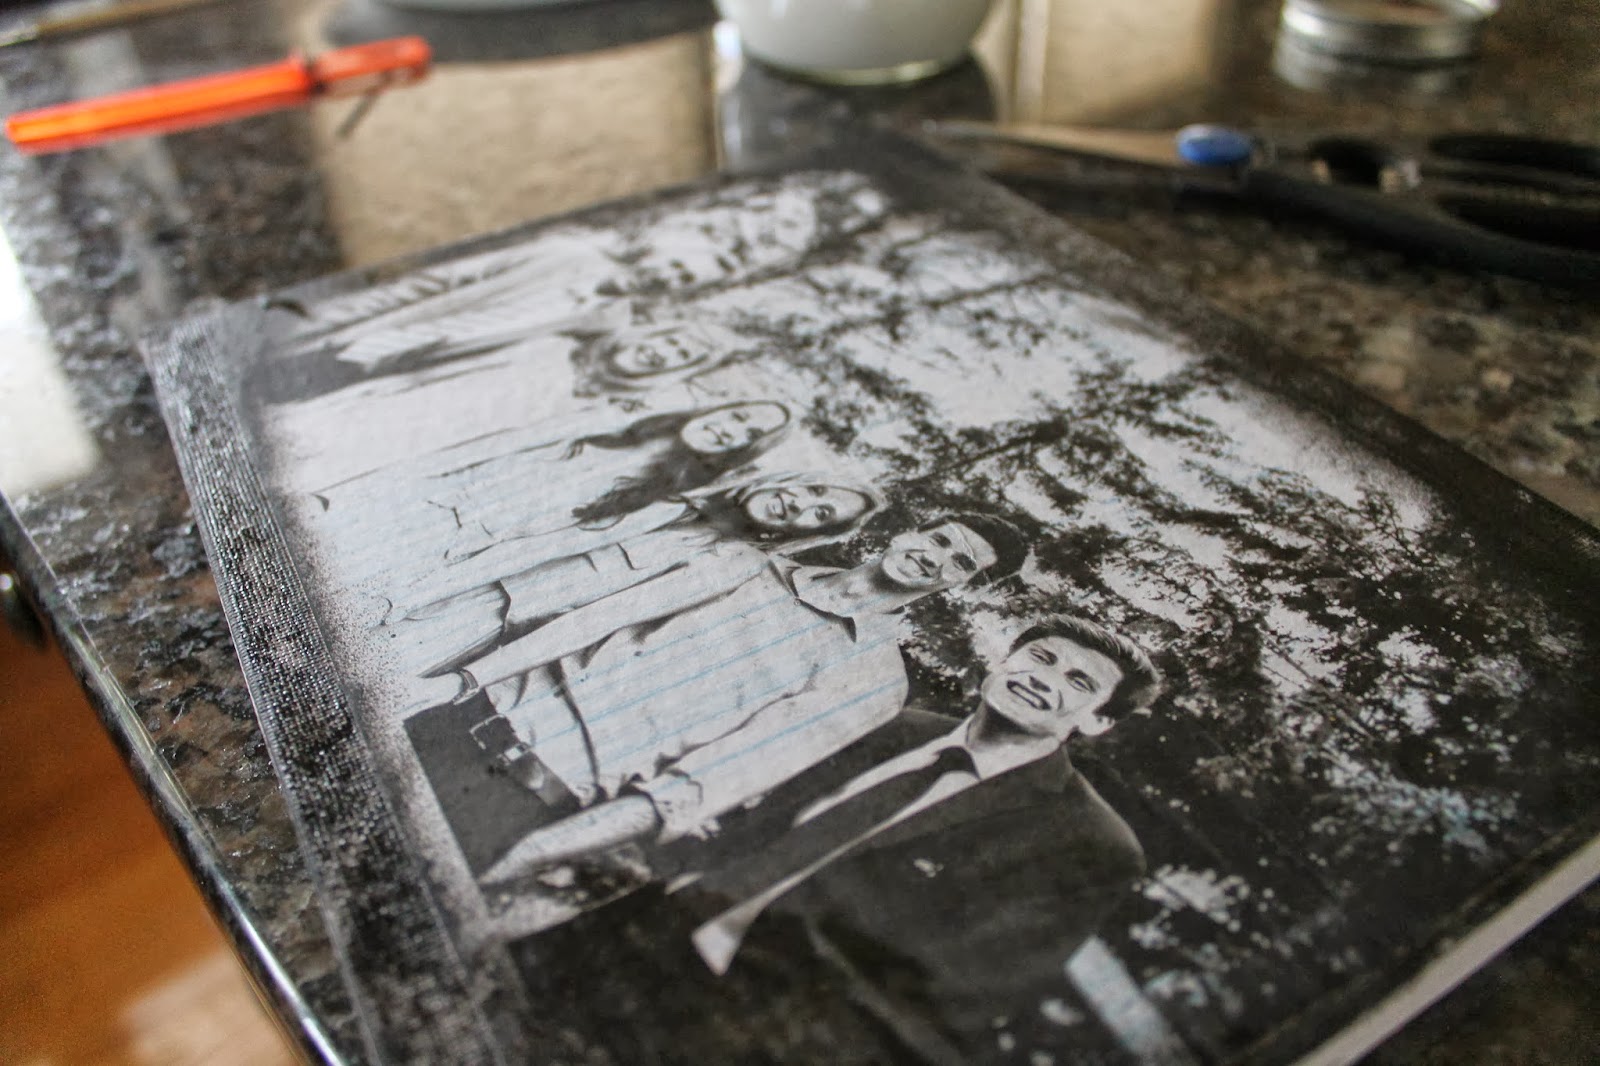
First you will print out a photo from a laser printer or just a regular printer at your home. I put my photo onto a word document and then i printed it out and made it black and white for a more antique look. After that i took my stretched out canvas and took my foam brush and just brushed Mod Podge all over it. 

Next i put the photo on the canvas and pressed it down because there were some bubbles because of the Mod Podge underneath. After doing that I put more Mod Podge over top of the photo and let it dry for around 15-20 minutes. 


After you let it dry i wanted to give it more of a rustic look so i took a black sponge and used my black acrylic paint to just dab around the edges. Adding paint tops it off and makes it look a lot better i find!


I was very happy of how this project turned out. You can do this anytime and use it as a gift or a present to someone as well. The hardest part was choosing what method i wanted to use to transfer the photo onto the canvas. You can do other methods with tissue paper, laser printer one too. Overall this project wasn't expensive at all! I bought the Elmers glue from the dollar store for only $2.00 as well as the canvas was only $4.00, and i didn't need to buy anything else! I highly suggest you try it out!

Thursday 17 October 2013

Hello All :) Today i decided to do an Art DIY just because i was in the mood. I made a tape painting. The process of doing so was quite simple, and fun i must say! All you need in order to accomplish this is tape (any kind), a canvas, acrylic paint, scissors, water and paint brushes. I kept my canvas just plain white for the background but you can also spray paint it to a different color before taping. I suggest you put newspaper under your canvas because it can get messy when you are using paint. Through this process i learnt that you may need water even when using acrylic paint because the paint can dry very quickly and harden so water helps smooth the paint. I was very pleased with the outcome because now i have another painting to hang on my wall. (my room is getting redone so all of the DIY's i will be doing i can add to my new room.) This project was very enjoyable to do because i didn't feel like doing a 4 hour painting. This took me probably around an hour and 15 minutes. I highly suggest you try it in your spare time! Scroll down to see the process of how i did it and the finished product. Next week i will be posting another simple DIY to do at home so stay tuned!


Wednesday 16 October 2013

Dear bloggers,
     Hello! My name is Rachel, and this blog is all about simple DIY (Do-It-Yourself) projects. For one of my classes at school our task is to think of a topic that you would be more interested in learning about and blogging every once and awhile about. The thing you choose can either be a goal or skill you want to learn or improve on. I have to tell you that it took me awhile to think of an actual "good" idea. I did many brainstorming activities to figure out what i wanted to do. First of all, i love and really enjoy art so i wanted to somehow incorporate it into my project somehow. I think that DIY projects will be perfect because it is in a way a form of art. With DIY projects you can do a variety of many different things. It can expand from making home decorative things to homemade masterpieces. My quote at the top of my blog says, "Learning to take what you have, and making something worthwhile." Most of the things i will be doing are things you can simply do right out of your home. Occasionally i will have to go to art/crafts stores to buy a few things i will need in order to make successful DIY's. My goal is to make many different things, as well as master the skill of crafting.This week i will be starting on a few projects and i will update you on them as soon as possible! If you have any questions, feel free to comment or message me.